Connecting a recorder
Network setup
The recorder needs an address on the same subnet as the computer or the router. For example, with the computer at 192.168.0.100, the recorder can be at 192.168.0.224 — the first three groups must match.
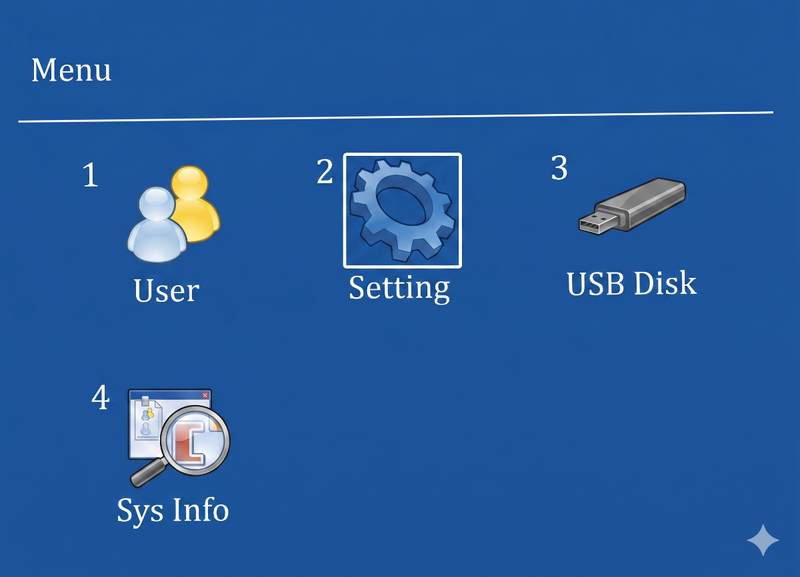
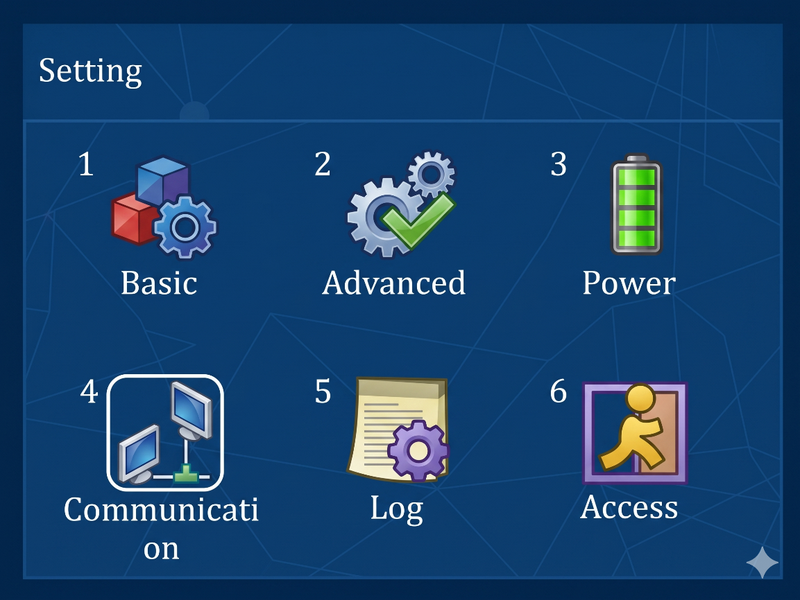
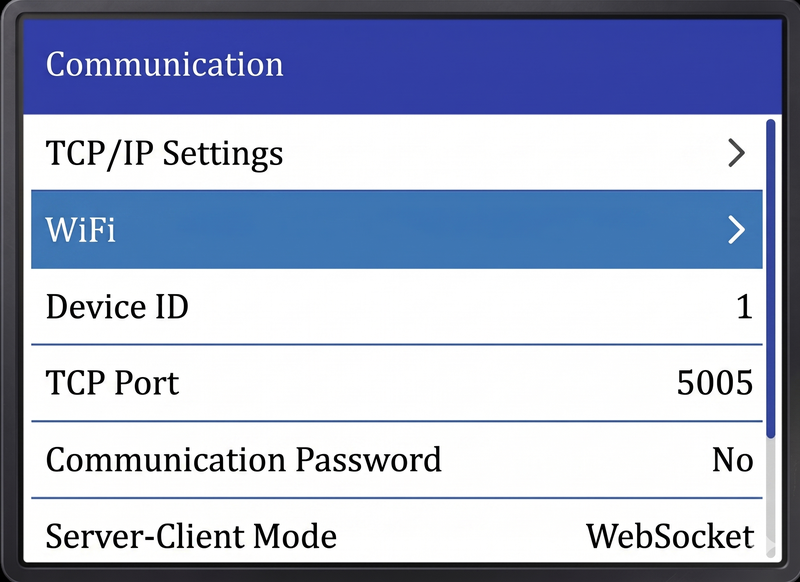
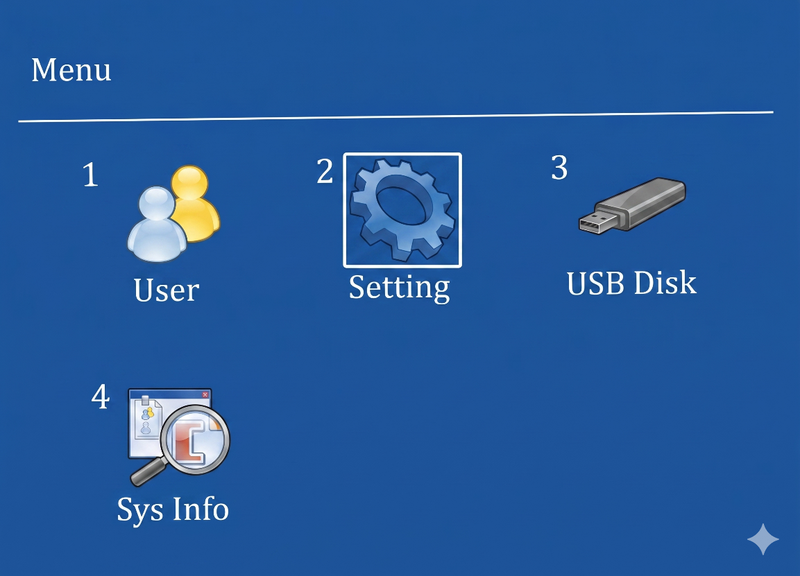
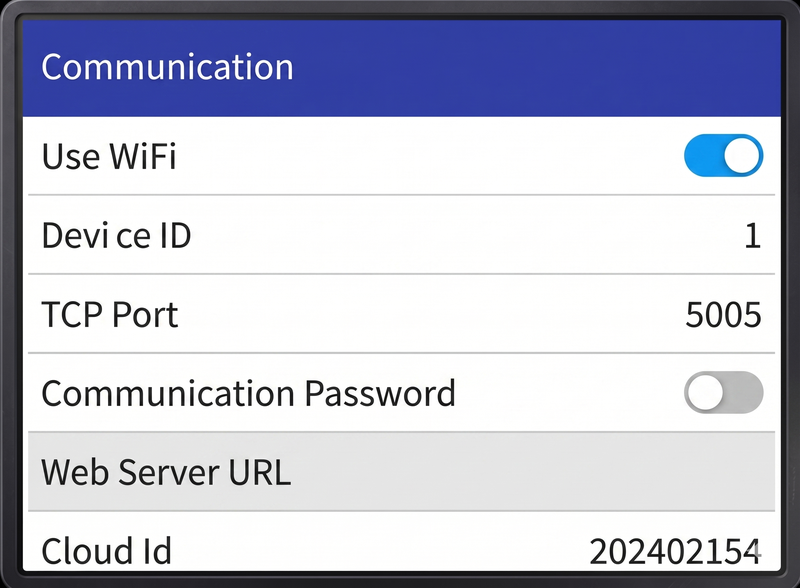
- MENU → Setting → Communication → TCP/IP.
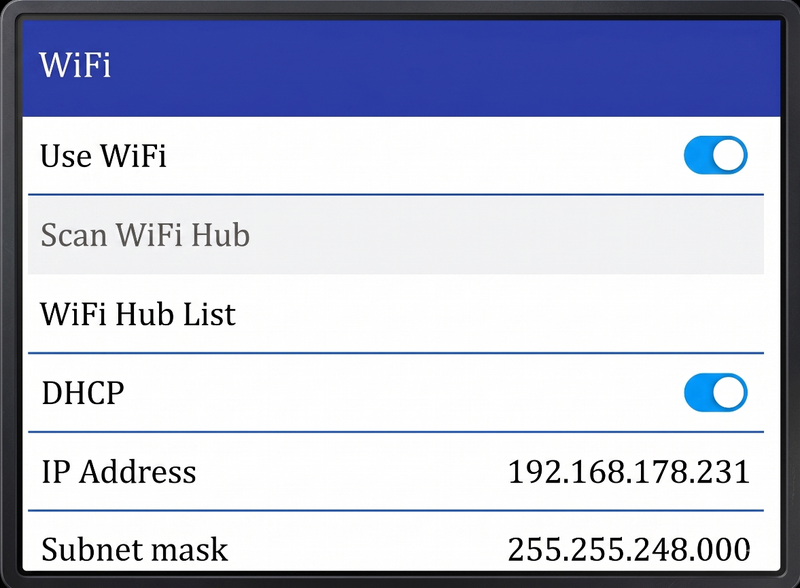
- Either turn DHCP on to take an address from the router automatically, or enter the IP address, the subnet mask and the gateway by hand.
- Confirm with OK.
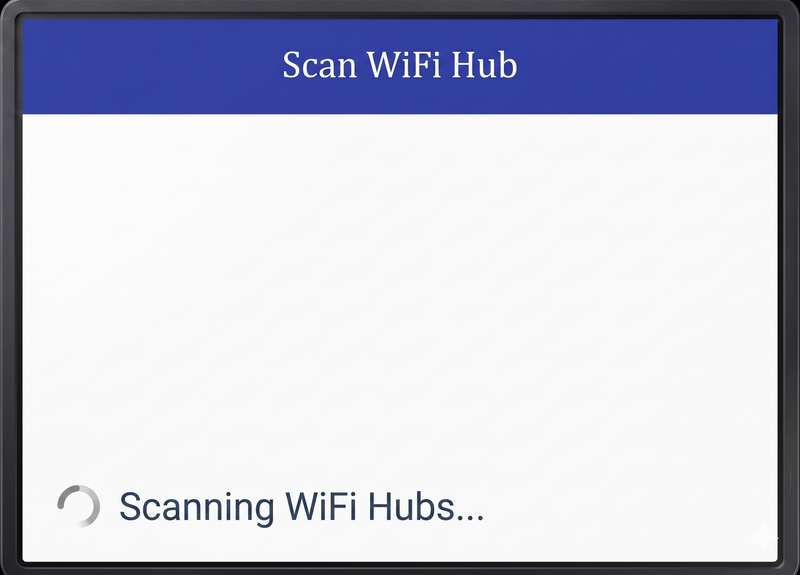
For WiFi, choose Communication → WiFi → Scan WiFi Hub, pick the network, enter the password and confirm. Capital letters in a WiFi password are entered by pressing 0 before the letter key.
Connecting to BeepClock
BeepClock is HDWR's cloud application — nothing to install, and the recorder syncs employees and records with it on its own.
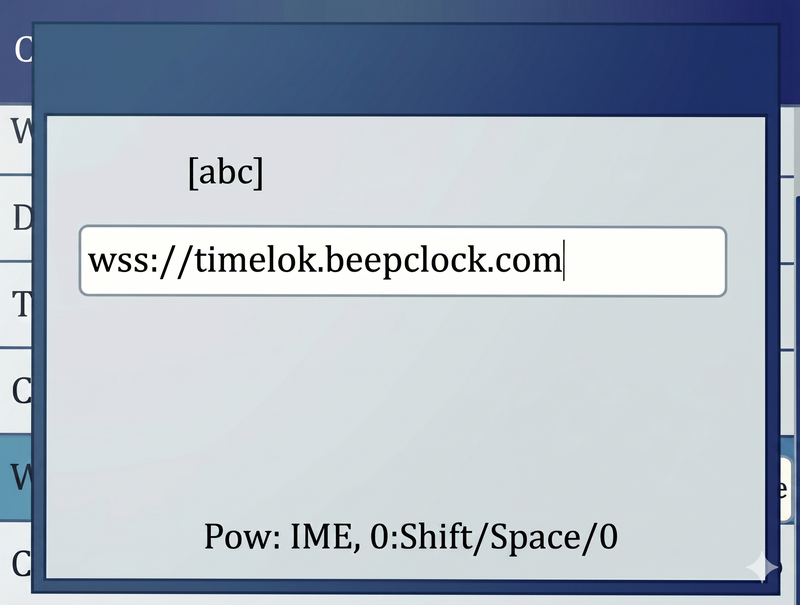
- On the recorder: MENU → Setting → Communication → Web server URL.
- Enter
wss://timelok.beepclock.comand confirm with OK. - Read the serial number from MENU → Sys info → Device info → Serial Number (it is also on the sticker on the back of the housing).
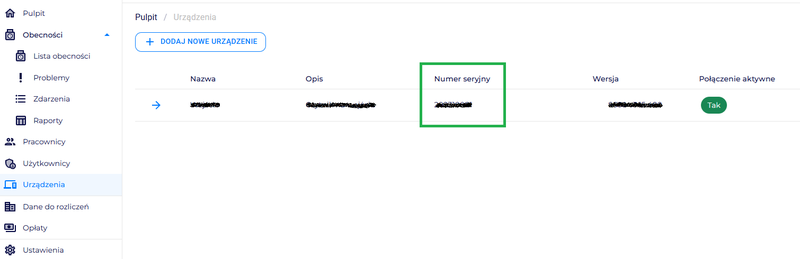
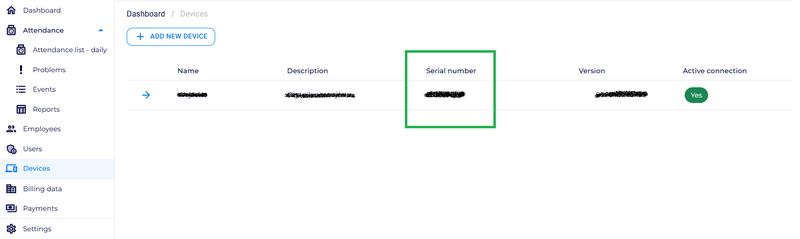
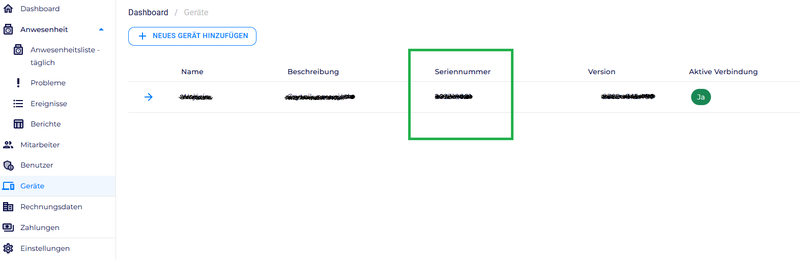
- Log in at app.beepclock.com, open Devices and click Add new device.
- Enter the serial number, name the device (for example "main entrance") and save.
Employees added in BeepClock sync to the recorder automatically, and so do administrator rights.
If BeepClock shows Connection: NO, check two things: that the server address reads exactly wss://timelok.beepclock.com, and that the serial number in the app matches the one on the device.
FAQ
How do I connect a TimeLok recorder to a WiFi network?
My WiFi password contains uppercase letters and special characters — how do I enter them?
The recorder is connected to the network but BeepClock shows 'Connection: NO' — what should I check?
Hardware questions (mounting, wiring, the device menu) are covered in the TimeLok manuals on docs.hdwrglobal.com.